To preface, a little back story. After finally getting Sixer
on the road, she sat in our apartment complex’s parking lot, instead of a
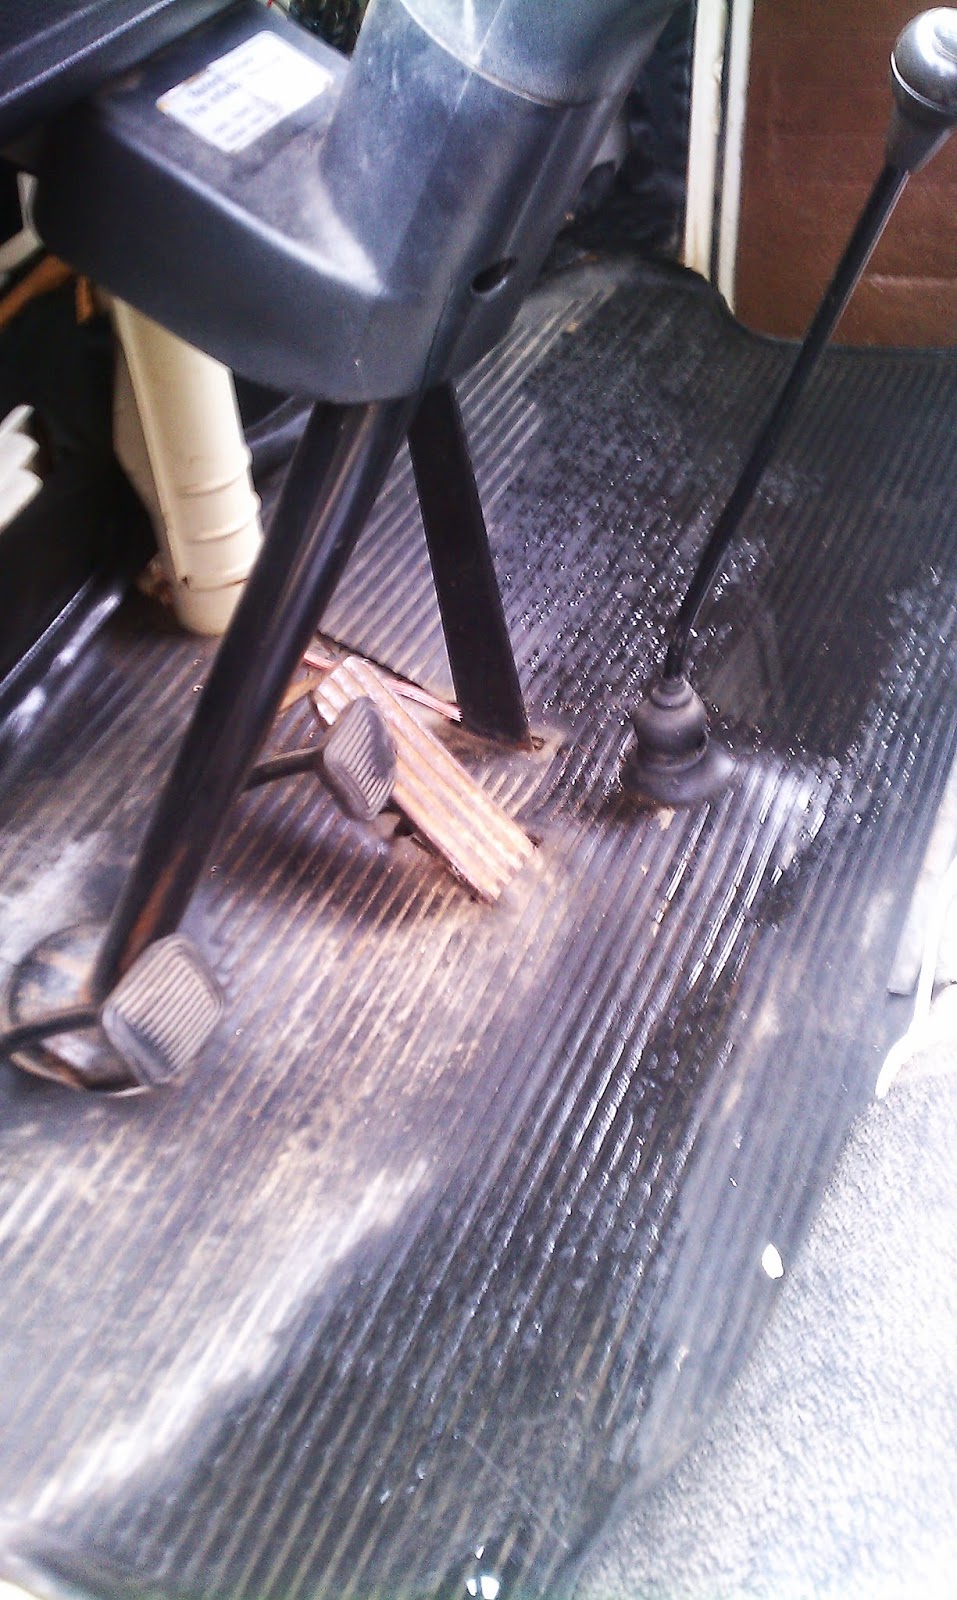
garage. After a few rain showers, we started noticing a little water settling
in near the doors in the front floor mats.
The most likely culprit was the vent
(wing) windows, as their seals are fairly old and cracked. Unfortunately, this
was not to be the case… Sixer received a paint job just prior to our purchasing her.
Evidently, the painter and cohorts were slightly less than detail oriented, at
least when it comes to the functional parts of the vehicle. The paint itself is
quite nice, smooth, and glossy. The issues become apparent where the painter
had to remove and reinstall functional items like headlights, license plate
brackets, and yes, the windshield.
I was sitting in the bus one afternoon in the rain, looking to deduce where the water intrusion was coming from. As the rain came down, I started probing around the suspected are of leakage, when I felt a cold draft. Searching for the source of this irritation, I noticed a ¼” gap at the lower passenger side corner of the windshield. My survey complete, I was astonished to find that through several weeks, a four hundred mile trip on a trailer, and a number of local drives, our windshield was being held in by the force of the wind against it and the pressure of the wiper blades. It was simply setting in the opening of the body, with a few dabs of weatherstrip adhesive in the corners. Oh, and they managed to crack the windshield in the process of not installing it. Needless to say, this had to be rectified.
So, on to a short picture tutorial on how to install a windshield into a ’76 VW bus…
First,
gather your tools:
- Windshield
(I reinstalled the one the painter cracked here, as Sixer needed to be on a car
carrier before I could get my hands on a new one. Plus, practice is always
nice.)
- Windshield
seal
- Spray
bottle with straight Simple Green
- More
Simple Green
- Small
Tupperware container
- ~23’ of paracord (enough to go around the
windshield twice, plus two feet)
- Beer of
your choice. I recommend a session IPA for this job.
- A friend.
You’ll probably need a beer for them as well.

Next,
remove the windshield and sponge out the standing water on your dash.

While that dries,
fill the Tupperware with Simple Green, and soak the cord in it. The Simple
Green acts as a lubricant that will neither absorb water, which you don’t want
under the seal, nor will it attack the rubber of the seal. As the cord is
soaking, find a caulk tube topper thing (the little white thing in my hand in these
pictures). Spray everything with Simple Green. Cut it so the cord passes
through easily. Thread a cord end through the caulk tube thing and into the
seal. Using the caulk topper to spread the rubber lips of the seal, run the
cord in the lip around the entire windshield twice, ending about a foot past
the center of the top of the windshield on both sides. Leave about six inches
of cord hanging out of the lip on either side of the center.

 Spray the
rubber seal and the sealing surface of the bus body with Simple Green, and help
your friend set and position the windshield in the hole. Once in place, get
inside the bus (you’re pulling the seal lip from the outside of the bus across
the lip into the inside of the bus), start pulling the cord ends evenly, a few
inches each side at a time, 90 degrees to the seal. If everything is set
correctly, when you pull the cord out, the seal will be forced to the inside
sealing surface of the body lip, securing the windshield. In certain places, it
might help to have your friend put a small amount of pressure on the windshield
from the outside. Too much pressure will make it more difficult, however.
Spray the
rubber seal and the sealing surface of the bus body with Simple Green, and help
your friend set and position the windshield in the hole. Once in place, get
inside the bus (you’re pulling the seal lip from the outside of the bus across
the lip into the inside of the bus), start pulling the cord ends evenly, a few
inches each side at a time, 90 degrees to the seal. If everything is set
correctly, when you pull the cord out, the seal will be forced to the inside
sealing surface of the body lip, securing the windshield. In certain places, it
might help to have your friend put a small amount of pressure on the windshield
from the outside. Too much pressure will make it more difficult, however.


And that’s it. Our windshield went in the first time around
with the cord. I had the second wrap of cord in the seal as a backup, but it
was not needed.
Summary of steps to install a windshield in a 1976 VW Bus:
Summary of steps to install a windshield in a 1976 VW Bus:
1.
Gather materials
2.
Lube seal with Simple Green, install on
windshield
3.
Soak cord in Simple Green, use caulk tube top to
insert cord into seal where it will interface with the bus body.
4.
Spray everything with Simple Green again
5.
Position windshield in body opening
6.
Pull string out of seal from inside the bus,
rolling the seal lip to the inside of the bus.
7.
Test drive and marvel at how dry and quiet everything is
now…
Also, choose a nice sunny day to do this job, and you won't have to sit in the bus and drink your installation beers while it rains like we did.

Also, choose a nice sunny day to do this job, and you won't have to sit in the bus and drink your installation beers while it rains like we did.
No comments:
Post a Comment